How to Search in the Outlook Webapp (Video)
We recommend watching this video tutorial so you can see How to Search in the Outlook Webapp in action.
You can also read our written tutorial below.
Video Transcript
Hi there! I’m Christa, with Fixed Fee IT. Welcome to our series of Microsoft Outlook tutorials.
Today, we’re going to learn how to search in the Outlook Webapp while in your web browser. If you’re looking for a specific part of this tutorial, you can find it by hovering over the progress bar below and selecting the chapter you need. And with that, let’s get started.
Intro
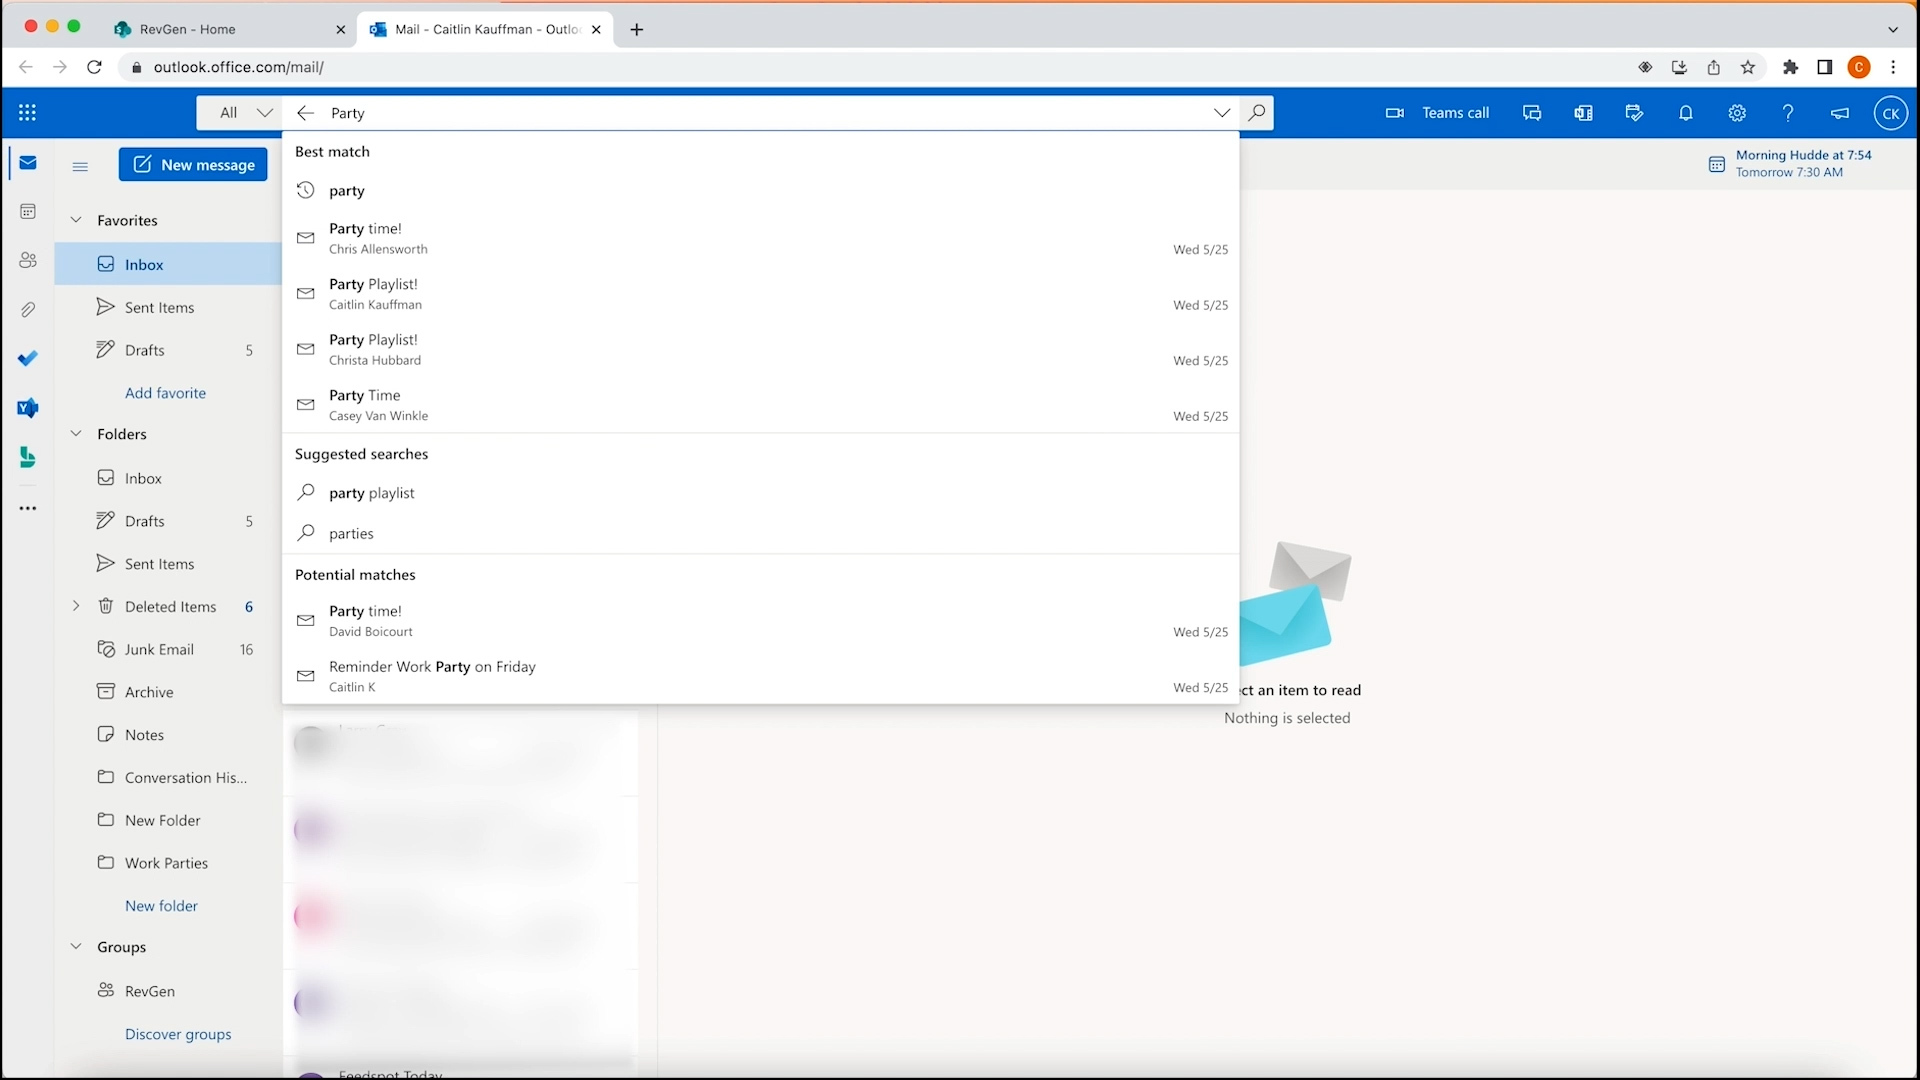
First, let’s start by opening our Outlook Webapp email inbox in our web browser. Towards the top of this screen, you’ll see the search bar. If you want to search for a name, subject, or phrase included in an email message, simply type that here.

If you want to search for a specific phrase, you can include quotation marks and that will filter for that exact phrase with the words in that exact order.

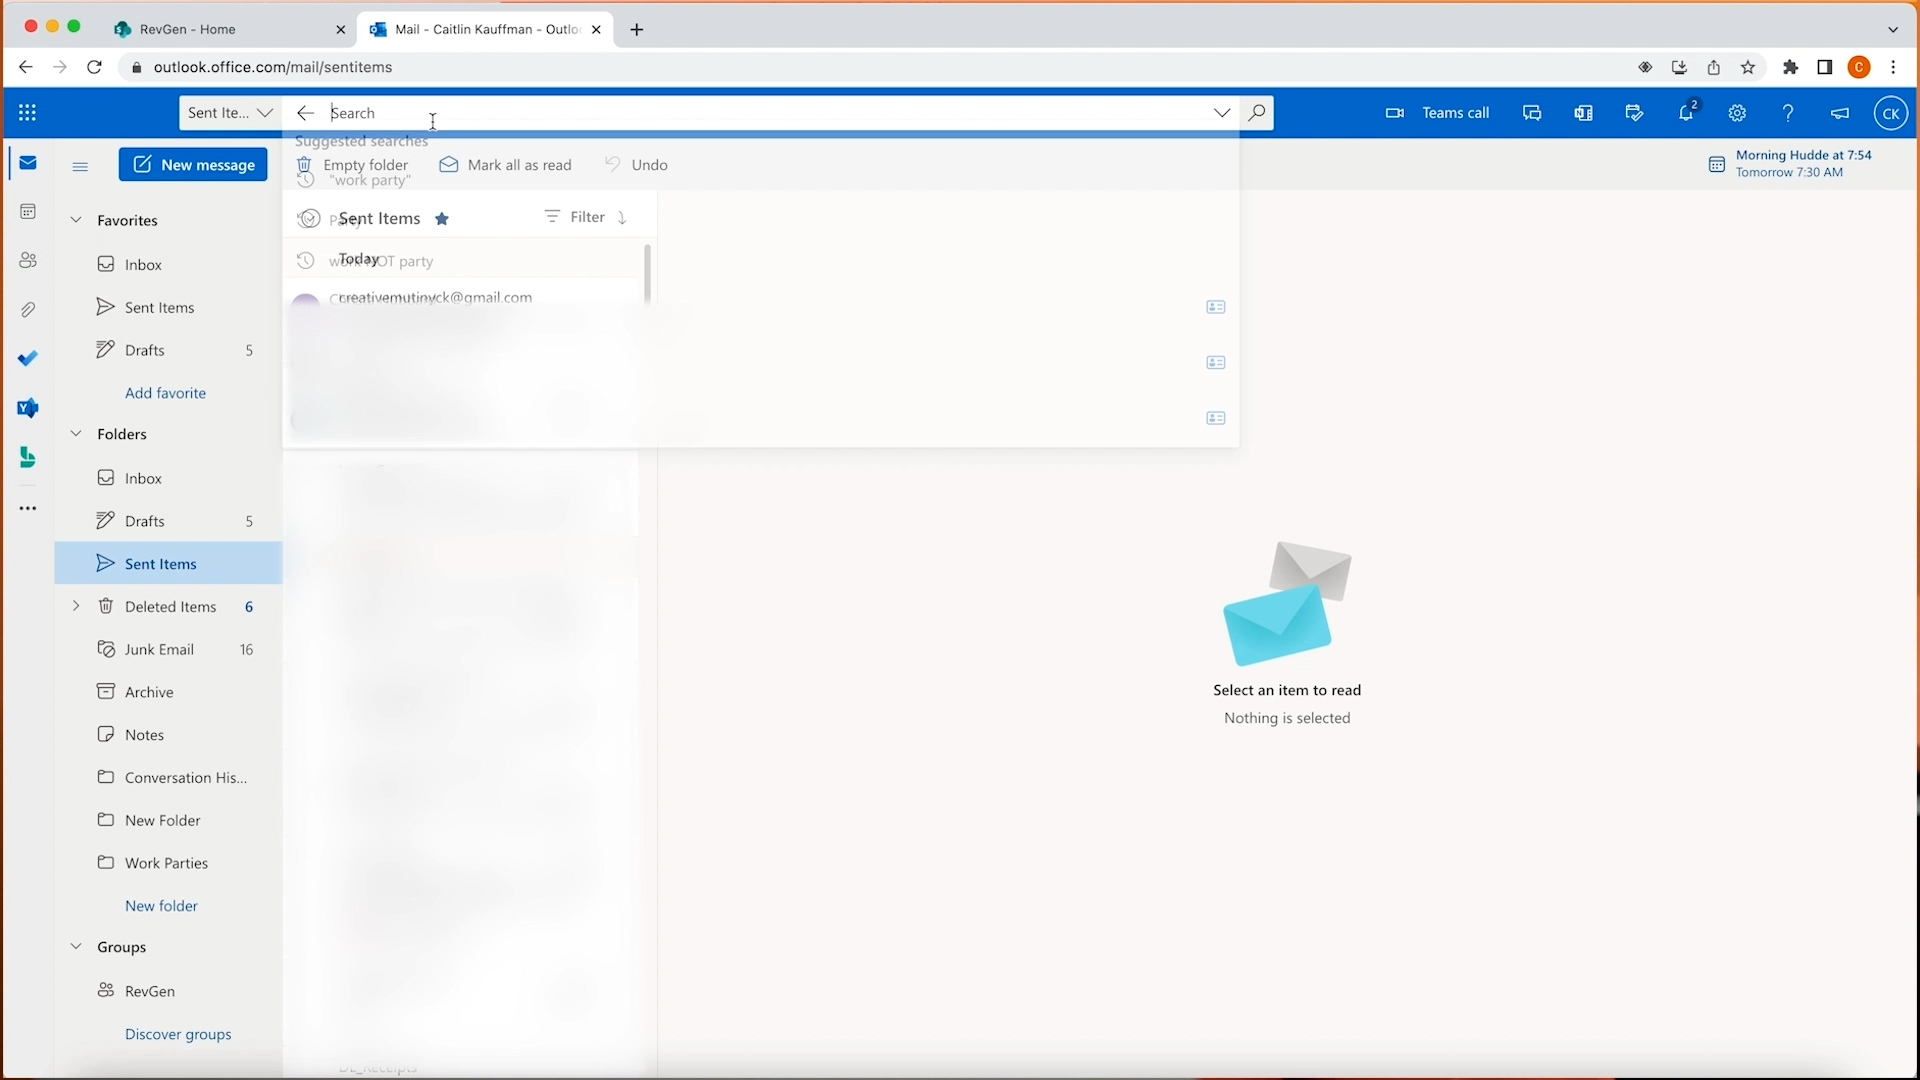
To the left is a dropdown box that allows you to filter results by specific folders. For instance, if you’re looking for an email you sent, you can select that folder. You can even search without custom folders that’s you’ve created.

For an even more detailed search let’s click the dropdown arrow to the right of this search bar. This gives you the option to search by folders, who it’s from, who it was sent to, anyone cc’d, specific subjects, keywords, date ranges, and if it has attachments or not. Even if you, only know a couple of these variables, it can help you filter a large email inbox very quickly.

And that’s it! Now you can filter your emails to quickly find the one you need. I hope this tutorial was helpful, and while you’re here, check out some of our other Outlook Webapp Tutorials in our playlist. If you still have any questions, feel free to reach out to our team of experts by commenting before or visiting FixedFeeIT.com. Thanks for watching!